
Newborn photography lighting at home
By the Newborn Photo App team · Updated
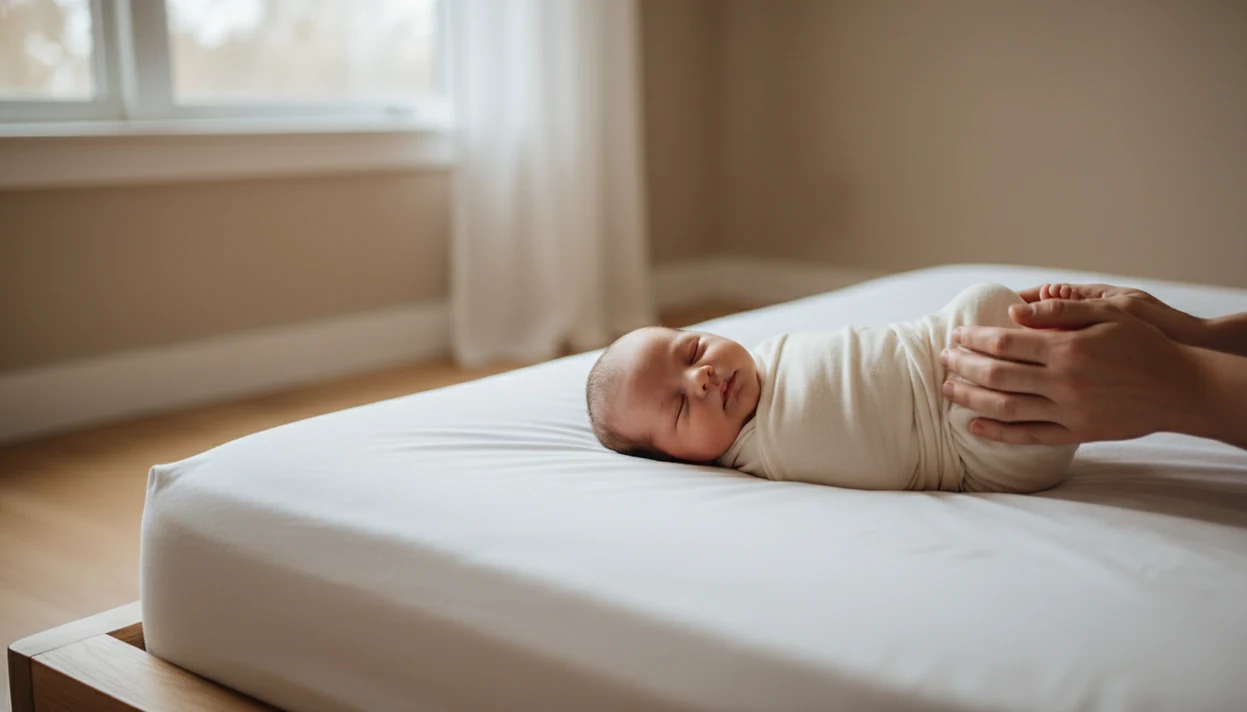
For newborn photography lighting, one large window and no other lights is the best setup at home. Put the baby near the window so the light hits from the side, switch off lamps and ceiling lights, and bounce a little light back into the shadows with a white sheet or poster board. That is soft, flattering and free, and it works on a phone or a camera.
The rest of this page explains why that setup works, how to adjust it, what to do about color, whether flash is safe, and how to shoot when the sun is down. It sits alongside our other guides on newborn photography, so you can read the lighting part on its own.
Why window light beats everything else
A big window is a big, soft light source. Large sources wrap around a face and make shadows gradual, which is exactly what you want on skin that is thin, new and sometimes blotchy. Small, bright sources, like a bare bulb or a phone flash, make hard shadows and shiny highlights.
Daylight also costs nothing and does not heat the room or startle the baby. Pick the biggest window in the house, ideally one that faces away from direct sun. North-facing windows in the Northern Hemisphere give a steady, even light all day. A window that gets direct sun can still work if you hang a thin white curtain or a sheer sheet across it, which spreads the beam into a soft wash.
Light direction
Where the baby sits relative to the window changes the mood more than any camera setting.
- Side light. The window is at the baby's side, and the baby's face turns toward it a little. This shows shape and texture. It is the default choice.
- Front light. The window is behind you, shining on the baby's face. It is even and bright, but flat. It makes a good safety net when the baby moves around.
- Back light. The window is behind the baby. It makes a glowing edge around the head and wrap, but the face goes dark unless you add a reflector or raise the exposure. It is pretty for silhouettes and lifestyle shots.
Start with side light, take one frame, then rotate the baby on the surface by a quarter turn and compare. Never move the baby alone to chase light. Move yourself, the sheet or the camera whenever you can, and keep a hand on the baby.
Distance matters too. One to three feet from the window is usually bright but soft. Moving farther back dims the light fast and forces your phone to raise ISO, which adds grain. If a picture looks muddy, move closer to the window before you do anything else.
Color and white balance
Newborn skin photographs yellow or blue when the lights are mixed. Daylight is bluish, and most indoor bulbs are warm and orange. If a lamp is on near a window, you get both at once, and no setting fixes it.
- Turn off every lamp and ceiling light in the room before you start.
- Keep auto white balance on a phone, or set it to daylight on a camera if the whole picture looks tinted.
- Use a white or gray item in the frame, like a sheet, as a color reference when you edit.
- Avoid shooting beside a colored wall. A red or green wall reflects onto the baby's skin.
If the skin looks red or splotchy even in good light, the cause is usually real newborn skin, not the lighting. Black and white or a gentle crop often helps, and our page on newborn photo editing covers a light touch.
A DIY reflector for a few dollars
A reflector bounces window light into the shadow side of the baby, so the face is evenly lit rather than half dark. You do not need to buy one.
- White foam board or poster board, around 20 by 30 inches, from a craft or office store.
- A plain white bed sheet, held by a helper or draped over a chair.
- A sheet of printer paper for macro close-ups of hands and feet.
- Aluminum foil on cardboard is brighter, but it can look harsh. Use it only if you want contrast.
Hold the reflector on the side opposite the window, angled toward the baby, and just outside the frame. Move it closer for stronger fill, farther for subtler fill. If it blocks the helper's view of the baby, switch to something lighter. Whoever holds it must not lose sight of the baby or lose a hand on the baby.
Flash and newborn eyes
This is one of the most common worries, and it has a short answer. The American Academy of Ophthalmology says there is no proven eye damage to babies from camera flash. A flash can startle a baby, and a sudden burst might make them blink or cry, but a startle is not an injury.
That does not make flash a good idea. On-camera flash is harsh, flattens the face and makes eyes glow red. It also bounces off a pale sheet and burns out skin tones. There is a practical reason to avoid it too. A baby who is startled awake will be hard to get back to sleep, and your session is over.
If you need more light, raise the exposure, move closer to the window, or turn on a daylight-balanced lamp aimed at a white wall or ceiling so the light bounces in softly. If you do use a flash, aim it away from the baby at a wall, and ask a pediatrician or eye doctor if you have any worry about your baby's eyes. No medical body publishes a limit on flash count or distance for newborns, so the cautious route is to avoid it.
Shooting at night or in a dim room
Night shots are possible, but they cost you quality. Phones raise ISO in low light, which adds noise, and slow shutter speeds blur any movement.
- Use a warm lamp as the only light and accept the color. Warm, golden tones can look cozy in lifestyle shots.
- Put the lamp to the side and bounce it off a wall instead of pointing it at the baby.
- Turn on your phone's night mode only if the baby is asleep and still. Night mode takes a longer exposure.
- Rest your elbows on a firm surface and press the shutter with a timer or gently, to cut blur.
If you can wait for morning, do. The baby will thank you, and so will the picture. For phone-specific settings, see our guide to taking newborn photos with a phone.
Quick checklist
- Pick the biggest window and the right time of day.
- Turn off every other light.
- Place the baby so the window lights one side of the face.
- Add a white sheet or board opposite the window.
- Check the first frame, then tweak distance before anything else.
- Skip the flash. Keep a hand on the baby throughout, and put the camera down if the baby seems unwell.
Put it all together in a real session using how to take newborn photos at home.
Light is one piece of a good session. Our newborn photography tips page puts it together with timing, focus and keeping the baby calm.
Frequently asked questions
Is camera flash bad for a newborn's eyes?
The American Academy of Ophthalmology says there is no proven eye damage to babies from camera flash. A flash can startle a baby, and it makes harsh, flat pictures, so most home photographers skip it. If you have any worry about your baby's eyes, ask your pediatrician or an eye doctor.
What is the best light for newborn photos at home?
Soft light from one large window is best. Turn off lamps and ceiling lights, place the baby so the window lights one side of the face, and add a white sheet on the other side to soften shadows. Overcast days and shaded north-facing windows give the most even result.
Why do my newborn photos look yellow or orange?
Usually the room has mixed lighting. Indoor bulbs are warm and daylight is cool, so skin ends up patchy. Switch off every lamp, use just the window, and keep auto white balance on. A colored wall near the baby can also cast color onto the skin.
How do I make a cheap reflector for baby photos?
Use white foam board or poster board from a craft store, or a plain white sheet draped over a chair. Hold it on the side opposite the window, just outside the frame, angled toward the baby. Move it closer for stronger fill. Keep it away from the baby and keep a hand on the baby.
Can I take newborn photos at night?
You can, but quality drops because phones and cameras need to boost sensitivity. Use one warm lamp bounced off a wall, hold the camera steady and shoot only when the baby is still. Window light in the morning will almost always look cleaner, so wait for daylight if you can.